Launch the Greeting Box and get started to make the greeting card.
You may need to choose New from the File menu to display the template window.
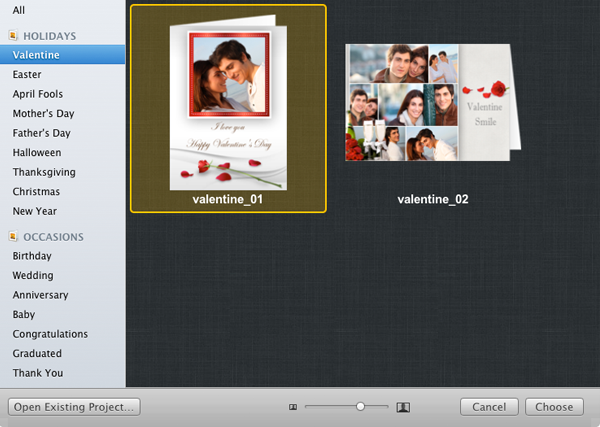
Choose a template from templates for various holidays and occasions, and go into the edit mode.
Click the arrow button on the bottom toolbar to switch pages of the card.

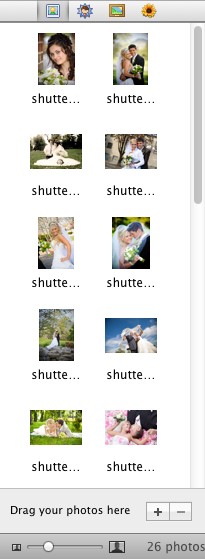
Click  in the upper left to open the Photo thumbnail panel and press
  button at the bottom of the Photo thumbnail panel to add photos.
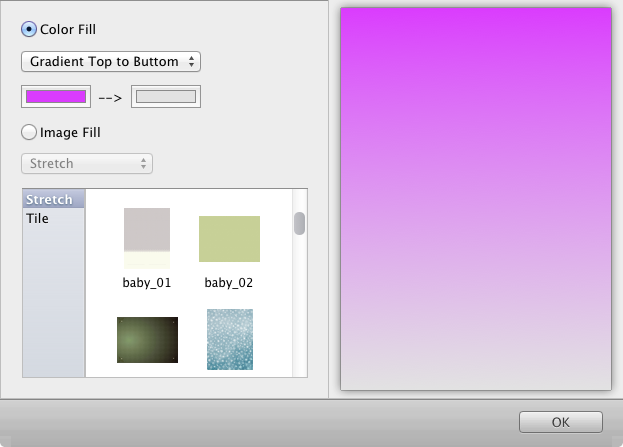
Click the Background toolbar button to set the background for your card.
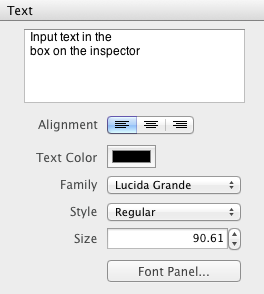
Click the New Object toolbar button, choose the Text Object to add text, and edit it in the Inspector.
Click  in the upper left to open the Clipart thumbnail panel. Use Drag & Drop to add clipart into the card.
Click  in the upper left to open the Frame thumbnail panel. Use Drag & Drop to apply frame on the photo.
Click  in the upper left to open the Mask thumbnail panel. Use Drag & Drop to apply mask on the photo.
Grab the handles on the selected object to move, resize and rotate the object.
Click the Print toolbar button to go into the print mode and make print settings (Printer, Paper Size, Copies). Printing in half fold is available.

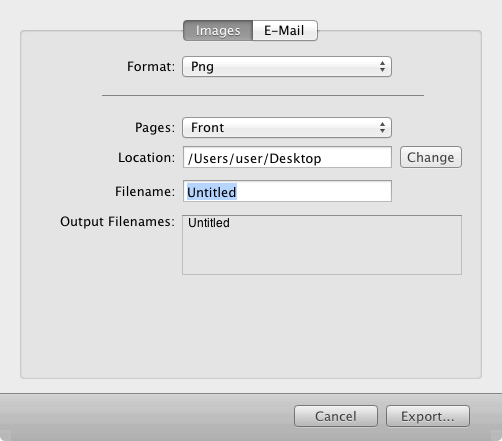
Click the Export toolbar button and make export settings (Format, Quality, Pages, etc.) to output your card as image or share via email.
© Copyright PearlMountain. All Rights Reserved. Online Logo Design