“My husband and I plan our wedding in December 2014, but now we are really taken aback at how much wedding invitations could cost-- especially unique and custom designs. We don't want the same generic cookie cutter invites that everyone else had. We’ve spent hours on the Internet trying to get an idea of what we want. Can somebody tell us how to solve it? Best regards.”
Anyone else has the similar problem as the fellows above? If so, you’re in the right place. Most Brides-to-be want their invitations to be perfect and in fact, one great way to get a perfectly customized and unique invitation is to make it yourself, either to save money or create a one-of-a-kind design that guests won't see anywhere else.
The following steps will show you how to make a wedding invitation card from start to finish by using Picture Collage Maker Pro in a few minutes. Just download Picture Collage Maker Pro to install and launch this program.

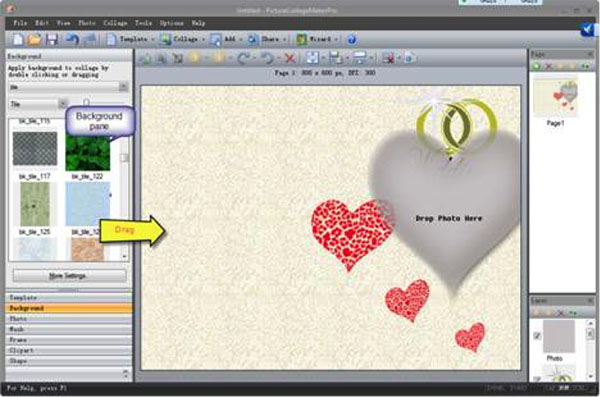
Create a new collage of marriage invitation sample from preset templates on the left pane, just choose one of the templates and be sure that the theme plate should match the occasion of wedding.

Tip: You should have an idea of the type of event you're throwing -- classic and elegant, or glam and modern -- before you start making, so that you can choose an invitation style that hits the same note.
Free to adjust the objects in the template. You can delete, rotate them at will. Choosing a background on the left pane to apply will also add extra spice to your design, and you have options to fill the background with special color or your own image.
Tip: If your invitation text is formal, consider having a classic neutral background. Informal text can match well with quirky, fun background patterns or images.
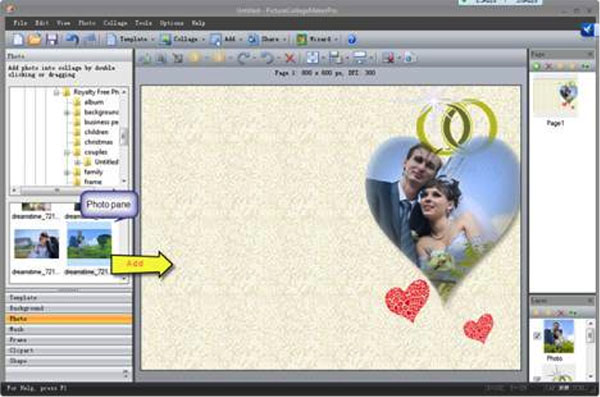
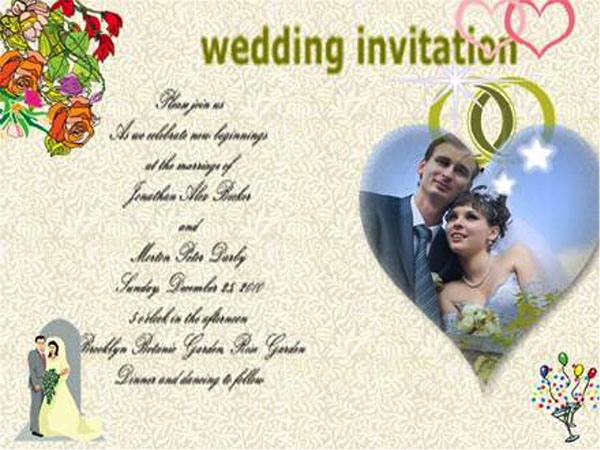
You can see a Photo Pane on the left window of collage, double click or drag the target photo into the edit area of collage and adjust the size of photo in the frame as you wish. Photos to consider can be an engagement photo of you two or a special moment of you and your significant other. You can move, enlarge, and rotate the photo by moving the mouse in order to see the collage at the best result.
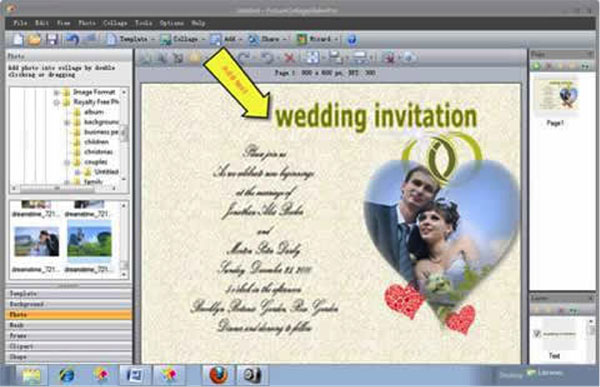
Equally important as the background and photo used on your invitation is the text. Click "Add" icon on window menu and then click "Add Text" on the dropdown menu to add the words you’d like to place on the card. In the popup text edit window, you may select font, color, background, etc. After add the text in collage, resize, rotate and drag it to the position as you need.
Tip: Limit your font choices to two at most. It is not unusual to have a wedding invitation with multiple fonts, but using more than two can become overwhelming to the eye.
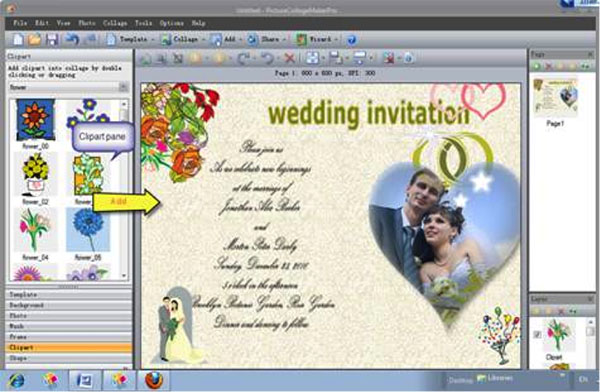
Invitations these days can be incredibly detailed and have many additional pieces and stylistic elements outside of the invitation itself. You can add masks, clipart and other resources to decorate your wedding invitation card.
Print this personalized marriage invitation card to present to your friends and families. On the top of menu, click File icon and then click Print Preview on the dropdown menu, then on the Print panel you can see the final print effect, or if necessary, resize or adjust its position or orientation until get your last satisfaction.
With some smart thinking, perfect planning, and some of the guides above you can create a fantastic wedding invitation card with little cost and big on impressions! What’s more, you could also make a collage of photos for any occasion using this program.
© Copyright PearlMountain. All Rights Reserved.