Open PicLight and click the Load/Import Photo button to add a photo.
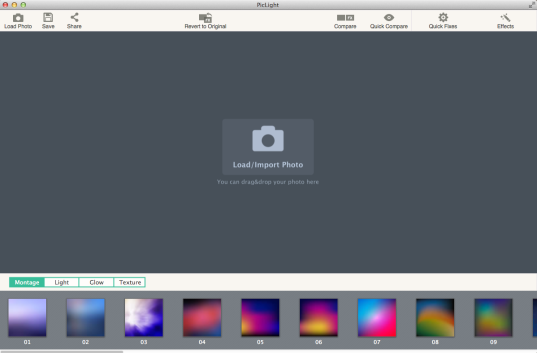
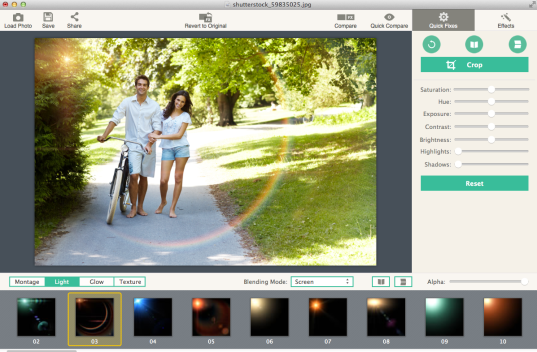
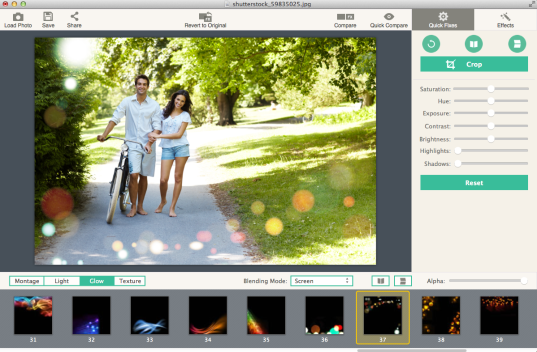
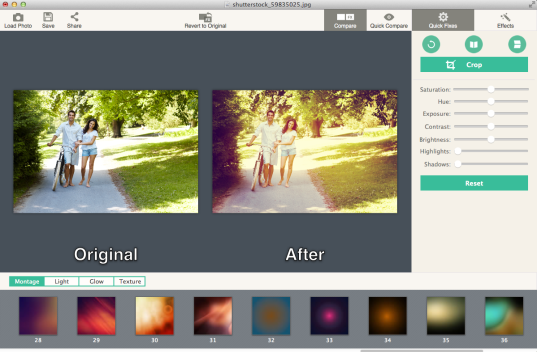
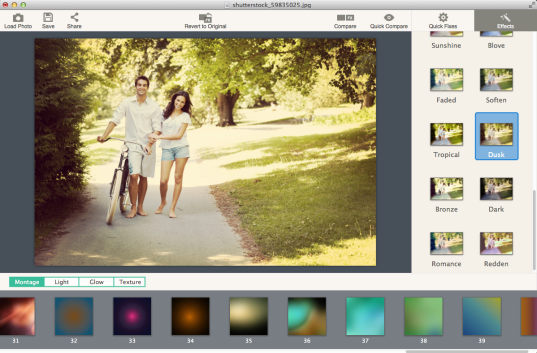
Click Montage, Light, Glow, Texture tabs to display each category of effects. Click any one to apply it to your photo. Click it again to remove the effect.
You can superimpose effects from four categories on your photos.
Click Montage tab to apply special montages on the photo.

Click Light tab to apply natural and amazing Light effects.
Click Glow tab to add light artworks, Bokeh, fluorescence, etc.
Click Texture tab to choose various textures.
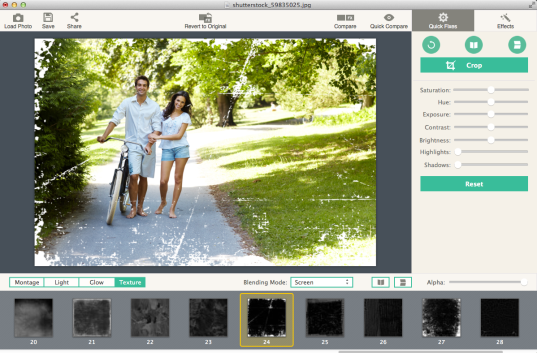
Further customize the effects by switching Blending Modes of Screen, Overlay, Color Dodge and Lighter.
Flip the effect horizontally or vertically by clicking  and
and  .
.
Grab Alpha slider to adjust effect opacity.
Click Compare button  to compare the processed photo with your original one. Click it again to exit comparison.
Click Revert to Original button 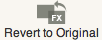 to clear all effects.
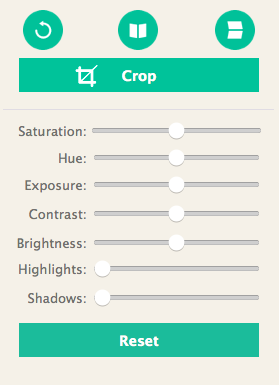
Click  button on Quick Fixes tab on the right to rotate photo as you wish.
Click  button to flip photo horizontally.
Click  button to flip photo vertically.
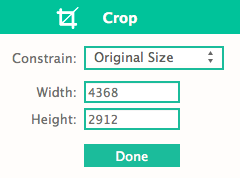
Click Crop to crop photo with ease. Click Constrain combo box to choose crop ratios. You can also customize the image size.
Grab corresponding sliders to adjust photo Saturation, Hue, Exposure, Contrast, Brightness, Highlights, Shadows. Click Reset to restore the default settings.
Click Effects tab on the right to apply delicate image effects such as Black & White, Sepia, Vintage, etc.
Click the effect again to remove it.
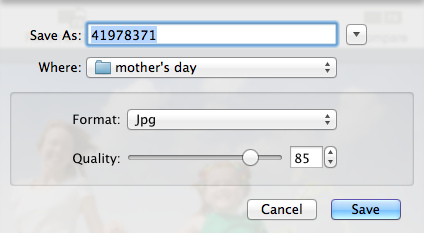
Click Save toolbar button to save the photo on your computer.
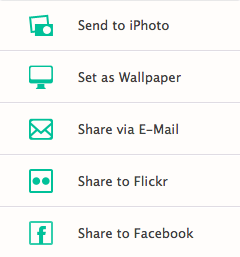
Click Share toolbar button to export photo to iPhoto directly, set as wallpaper, share via E-Mail, or share to Flickr and Facebook.
© Copyright 2020 PearlMountain. All Rights Reserved. Online Logo Design