Getting Started
Launch Picture Collage Maker 3
Launch Picture Collage Maker 3 and start to make photo collages and albums.
Choose a template
Launch Picture Collage Maker 3, the template window appears after a welcome page.
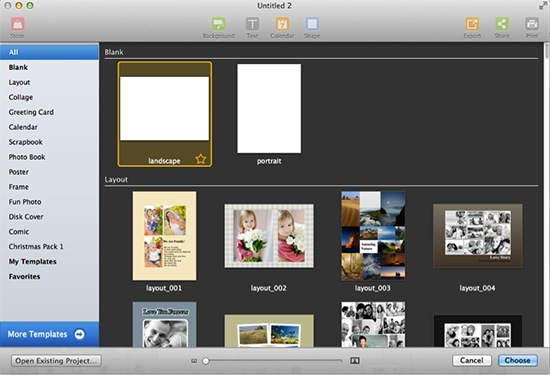
Choose a template from 140+ deluxe templates to start your collage.
Set page size, and orientation
Click  to set Page Size and Orientation for your collage on the Page inspector.

Click Page Size combo box to choose the collage size you need. You can also click Manage Custom Sizes… to customize collage size and DPI you need.
Set orientation of the page by clicking the Landscape or Portrait tab as you wish.
Add multiple pages (Version 3.0 or later)
If you need to create a scrapbook or photo album with several pages, or just need the convenience to edit several pages on one window, click to open page panel and then click
  button to add a new page.
You are free to rearrange the page order by simply dragging and dropping.
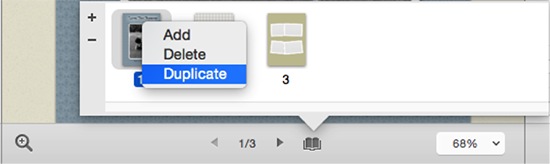
Switch between different pages by clicking the arrow buttons at the bottom or clicking on the page thumbnail directly. You are free to delete, duplicate page to meet your need.
Set background
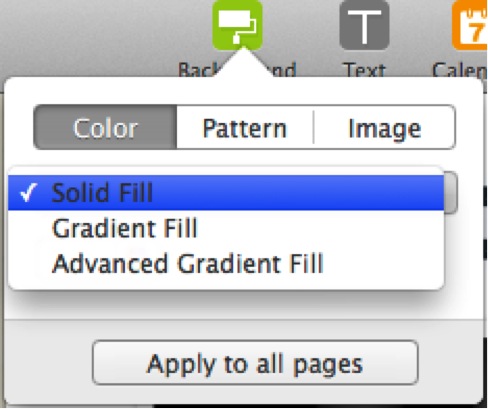
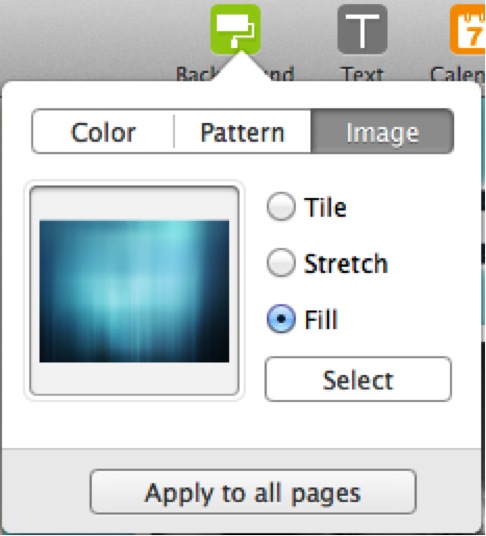
Click Background toolbar button on the top of window to set background of your collage.
Click Color tab to fill the background with specified color. The fill type can be set as Solid, Gradient, and Advanced Gradient.
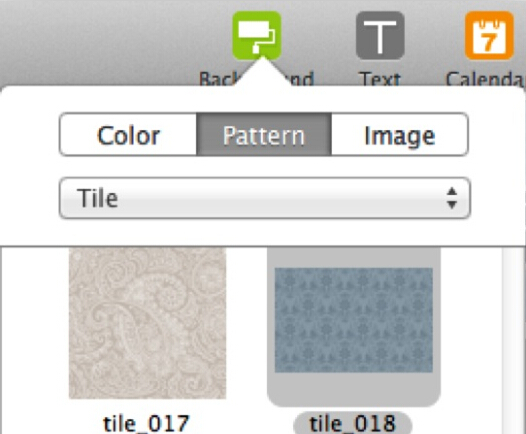
Click Pattern tab to fill the background with Tile and Stretch patterns. Choose your favorite background pattern in the pattern list and you can preview the background instantly on collage.
Click Image tab to select your own images as background. You can apply different background scale of Tile, Stretch, and Fill.
Add photos
Click iPhoto or Aperture, etc. under LIBRARIES category on the left to add photos from iPhoto and Aperture, etc. directly.
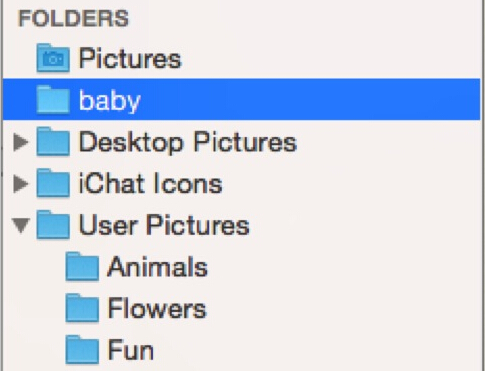
Click a folder like Pictures under the FOLDERS category to add photos directly from a specific folder on your computer.
Open Finder by the side, drag and drop any additional folders here.
You can preview every photo in the lower part of the photo list panel and grab the slider to scale photo thumbnails. Drag and drop any photo to add it to your collage.
Customize your collage
Set object fill, stroke, and shadow
Select an object, and set its Fill, Stroke, and Shadow on the right panel.
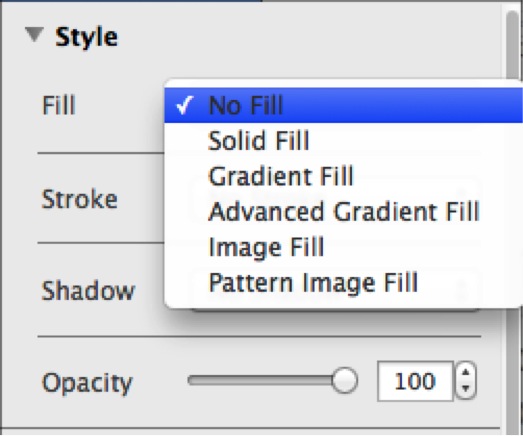
Click Fill combo box to select a fill mode (Solid Fill, Gradient Fill, Advanced Gradient Fill, Image Fill & Pattern Image Fill) to object.
Click Stroke combo box to select a desired stroke type to object.
Click Shadow combo box to customize shadow settings like Color, Blur, Alpha, etc.
Grab and drag the slider to adjust object Opacity or adjust it by using the stepper control on the right of the slider.
Set position & size, and rotation for object
Select an object to arrange its Position & Size, Rotate under Arrange panel on the right of window.
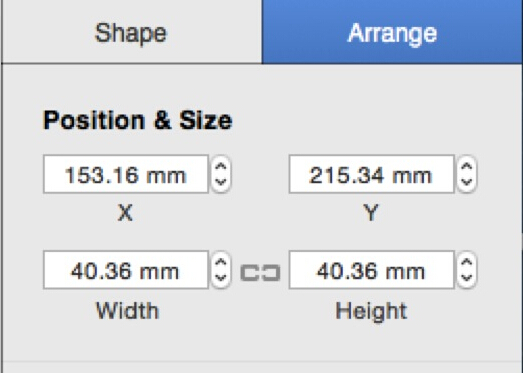
Input Width and Height, etc. properties you need directly or click arrows button on the right of input box to set the position & size under Position & Size inspector.
Click angel control to rotate object within 360 degrees.
Personalize photos
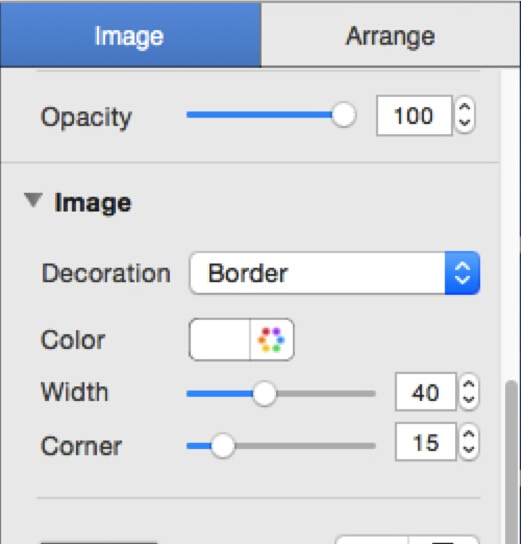
Select a photo, and set its Shadow, Border, Frame, Mask, Rotation, Effect, and Reflection, etc. on the Image panel.
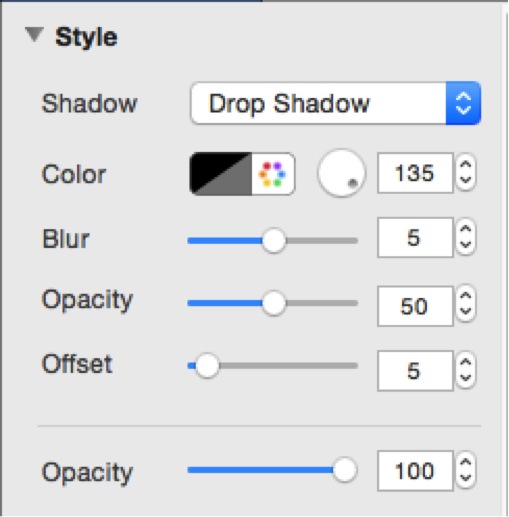
Click Shadow combo box and choose Drop Shadow, here you can customize shadow settings like Color, Blur, Alpha, etc. for photo.
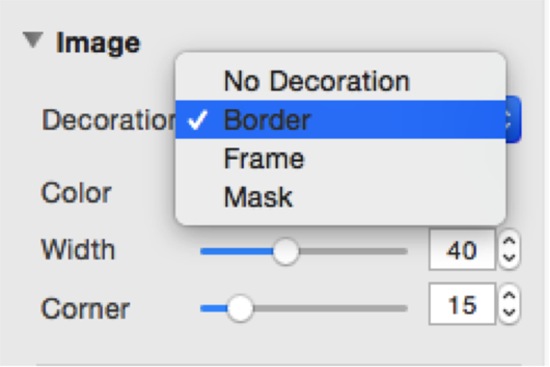
Click Decoration combo box to apply Border, Frame and Mask to photo at will.
Click Effect tab  and apply any popular photo effect to the photo. Click Original to remove photo effect.

Click  to Flip or Mirror the photo.
Click  to rotate the photo by 90 degrees anti-clockwise or by 90 degrees clockwise.
Adjust the image color by simply grabbing the slider of Saturation, Hue, Exposure, Contrast and Brightness. Click Reset to remove all the adjustments.
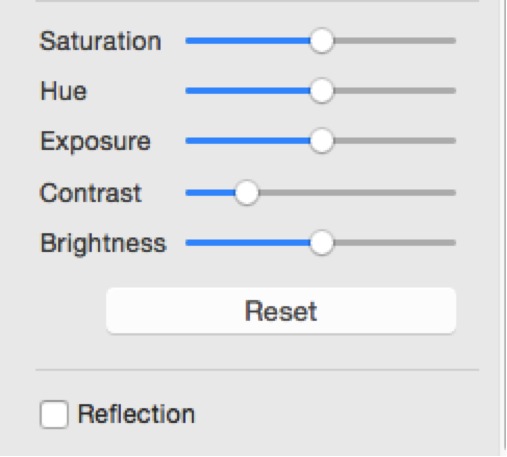
Check Reflection to set a reflection effect to photo.
Add text
Click Text toolbar button  on the top of window to add text on your collage. You can edit the text on Text panel.
Add shape
Click Shape toolbar button  on the top of window, and select a preconfigured shape to your collage.
Add calendar
Click Calendar toolbar button  on the top of window to add a calendar in your collage.
Add clipart
Click  button on the left of bottom to show the Clipart list. Drag & Drop a clipart to add it on the collage.
Export and share your collage
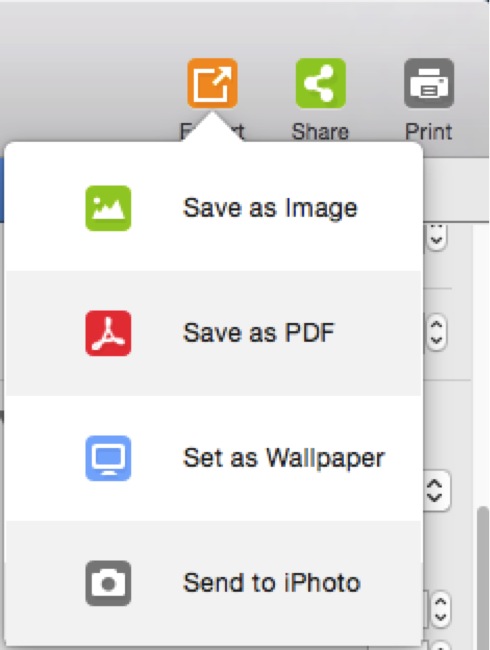
Click Export toolbar button to export your collage as image/PDF, set as wallpaper, or directly send to iPhoto.
Click Print toolbar button to print the collage directly.
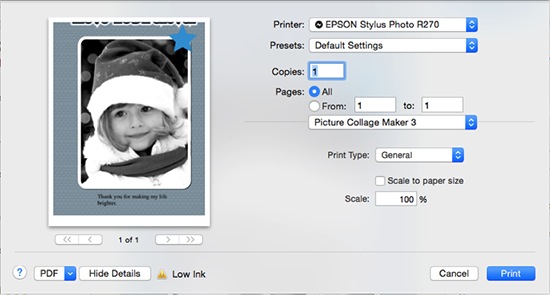
Make print settings such as Printer, Copies, Pages, Scale, etc. to suit your needs.
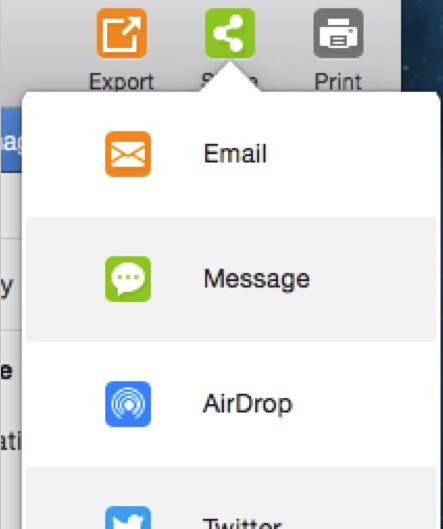
Click Share toolbar button to share collage via Email, Message, AirDrop, Twitter, Facebook, Flickr all within the app on Mac OS X 10.8 (Version 3.0 or later).
For Mac OS X earlier than 10.8, click Facebook toolbar button to share collage on Facebook directly.